
How to Remove Silence and Long Pauses From a Screen Recording on Mac
Find quiet gaps, keep useful thinking time and shorten a screen recording without cutting off words or losing sync.
In this article
A screen recording often contains useful explanation separated by waiting: an app opens, a page loads, or you stop to decide what to say next. Removing those long pauses can make the video easier to follow. Removing every quiet moment can make the same tutorial exhausting.
To remove silence from a screen recording on Mac in ZXN Studio, select the clip, open Simple → Audio → Pauses, choose Find pauses, review the marked gaps and apply the cuts. Start with a moderate preset and keep the pauses that help viewers understand what is on screen.
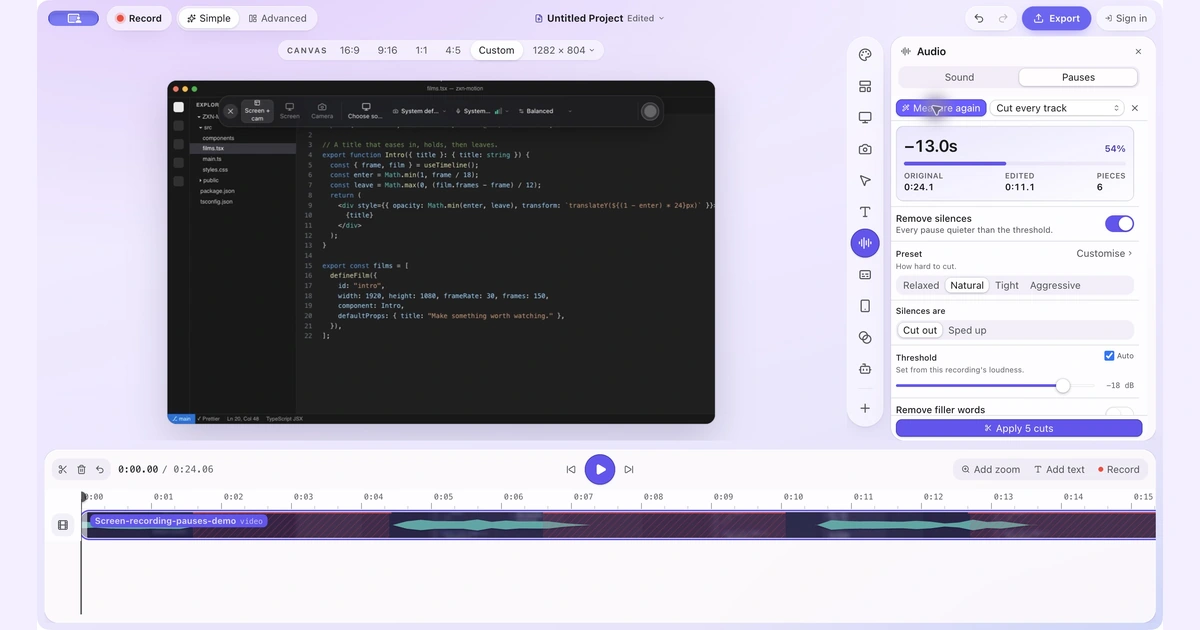
This guide covers the full workflow, including threshold, speech padding, synchronized tracks and a Recut alternative. The screenshots show an actual edit of a 24.1-second screen demo with synthesized narration and deliberately long gaps. The five suggested cuts reduce that example to 11.1 seconds. Your recording will need its own settings and review.
Decide which silence should stay
Before analyzing the file, watch it once and note what happens during the quiet sections. Waiting for a blank loading screen is usually different from giving viewers time to read a warning or compare two settings. The waveform cannot tell those situations apart.
A helpful editing rule is to remove waiting that adds no information while preserving time needed to understand the demonstration. Leave enough space after a complicated instruction for the result to register. Keep a short breath between topics. If the recording is meant to be followed step by step, viewers may need more time than they would in a promotional overview.
Do this cleanup before polishing every title, transition and zoom. Timing changes are easier to manage when the project is still simple. Keep the original recording and save the editable project so you can revisit the choices later.
1. Select the clip that contains the narration
Import the screen recording into ZXN Studio and add it to the timeline. Select the video clip if its narration is embedded in the file. If the microphone was recorded separately, select the audio clip that contains the voice instead.
Use the voice as the detection source. A music bed, constant game sound or continuous fan noise can make a supposedly quiet section appear active. Silence removal detects audio level; it does not know that a person has stopped explaining something while background music continues.
Switch to Simple, open the Audio card and choose Pauses. The panel should identify the selected clip through its Find pauses action. If the wrong clip is selected, change the selection before measuring. Also make sure the source is available locally and the relevant timeline track is unlocked.
2. Find pauses with a moderate starting preset
Leave Remove silences enabled. Choose Natural as an initial preset and keep Threshold → Auto enabled for the first pass. Then click Find pauses. These are starting choices for review, not a promise that every detected gap should disappear.
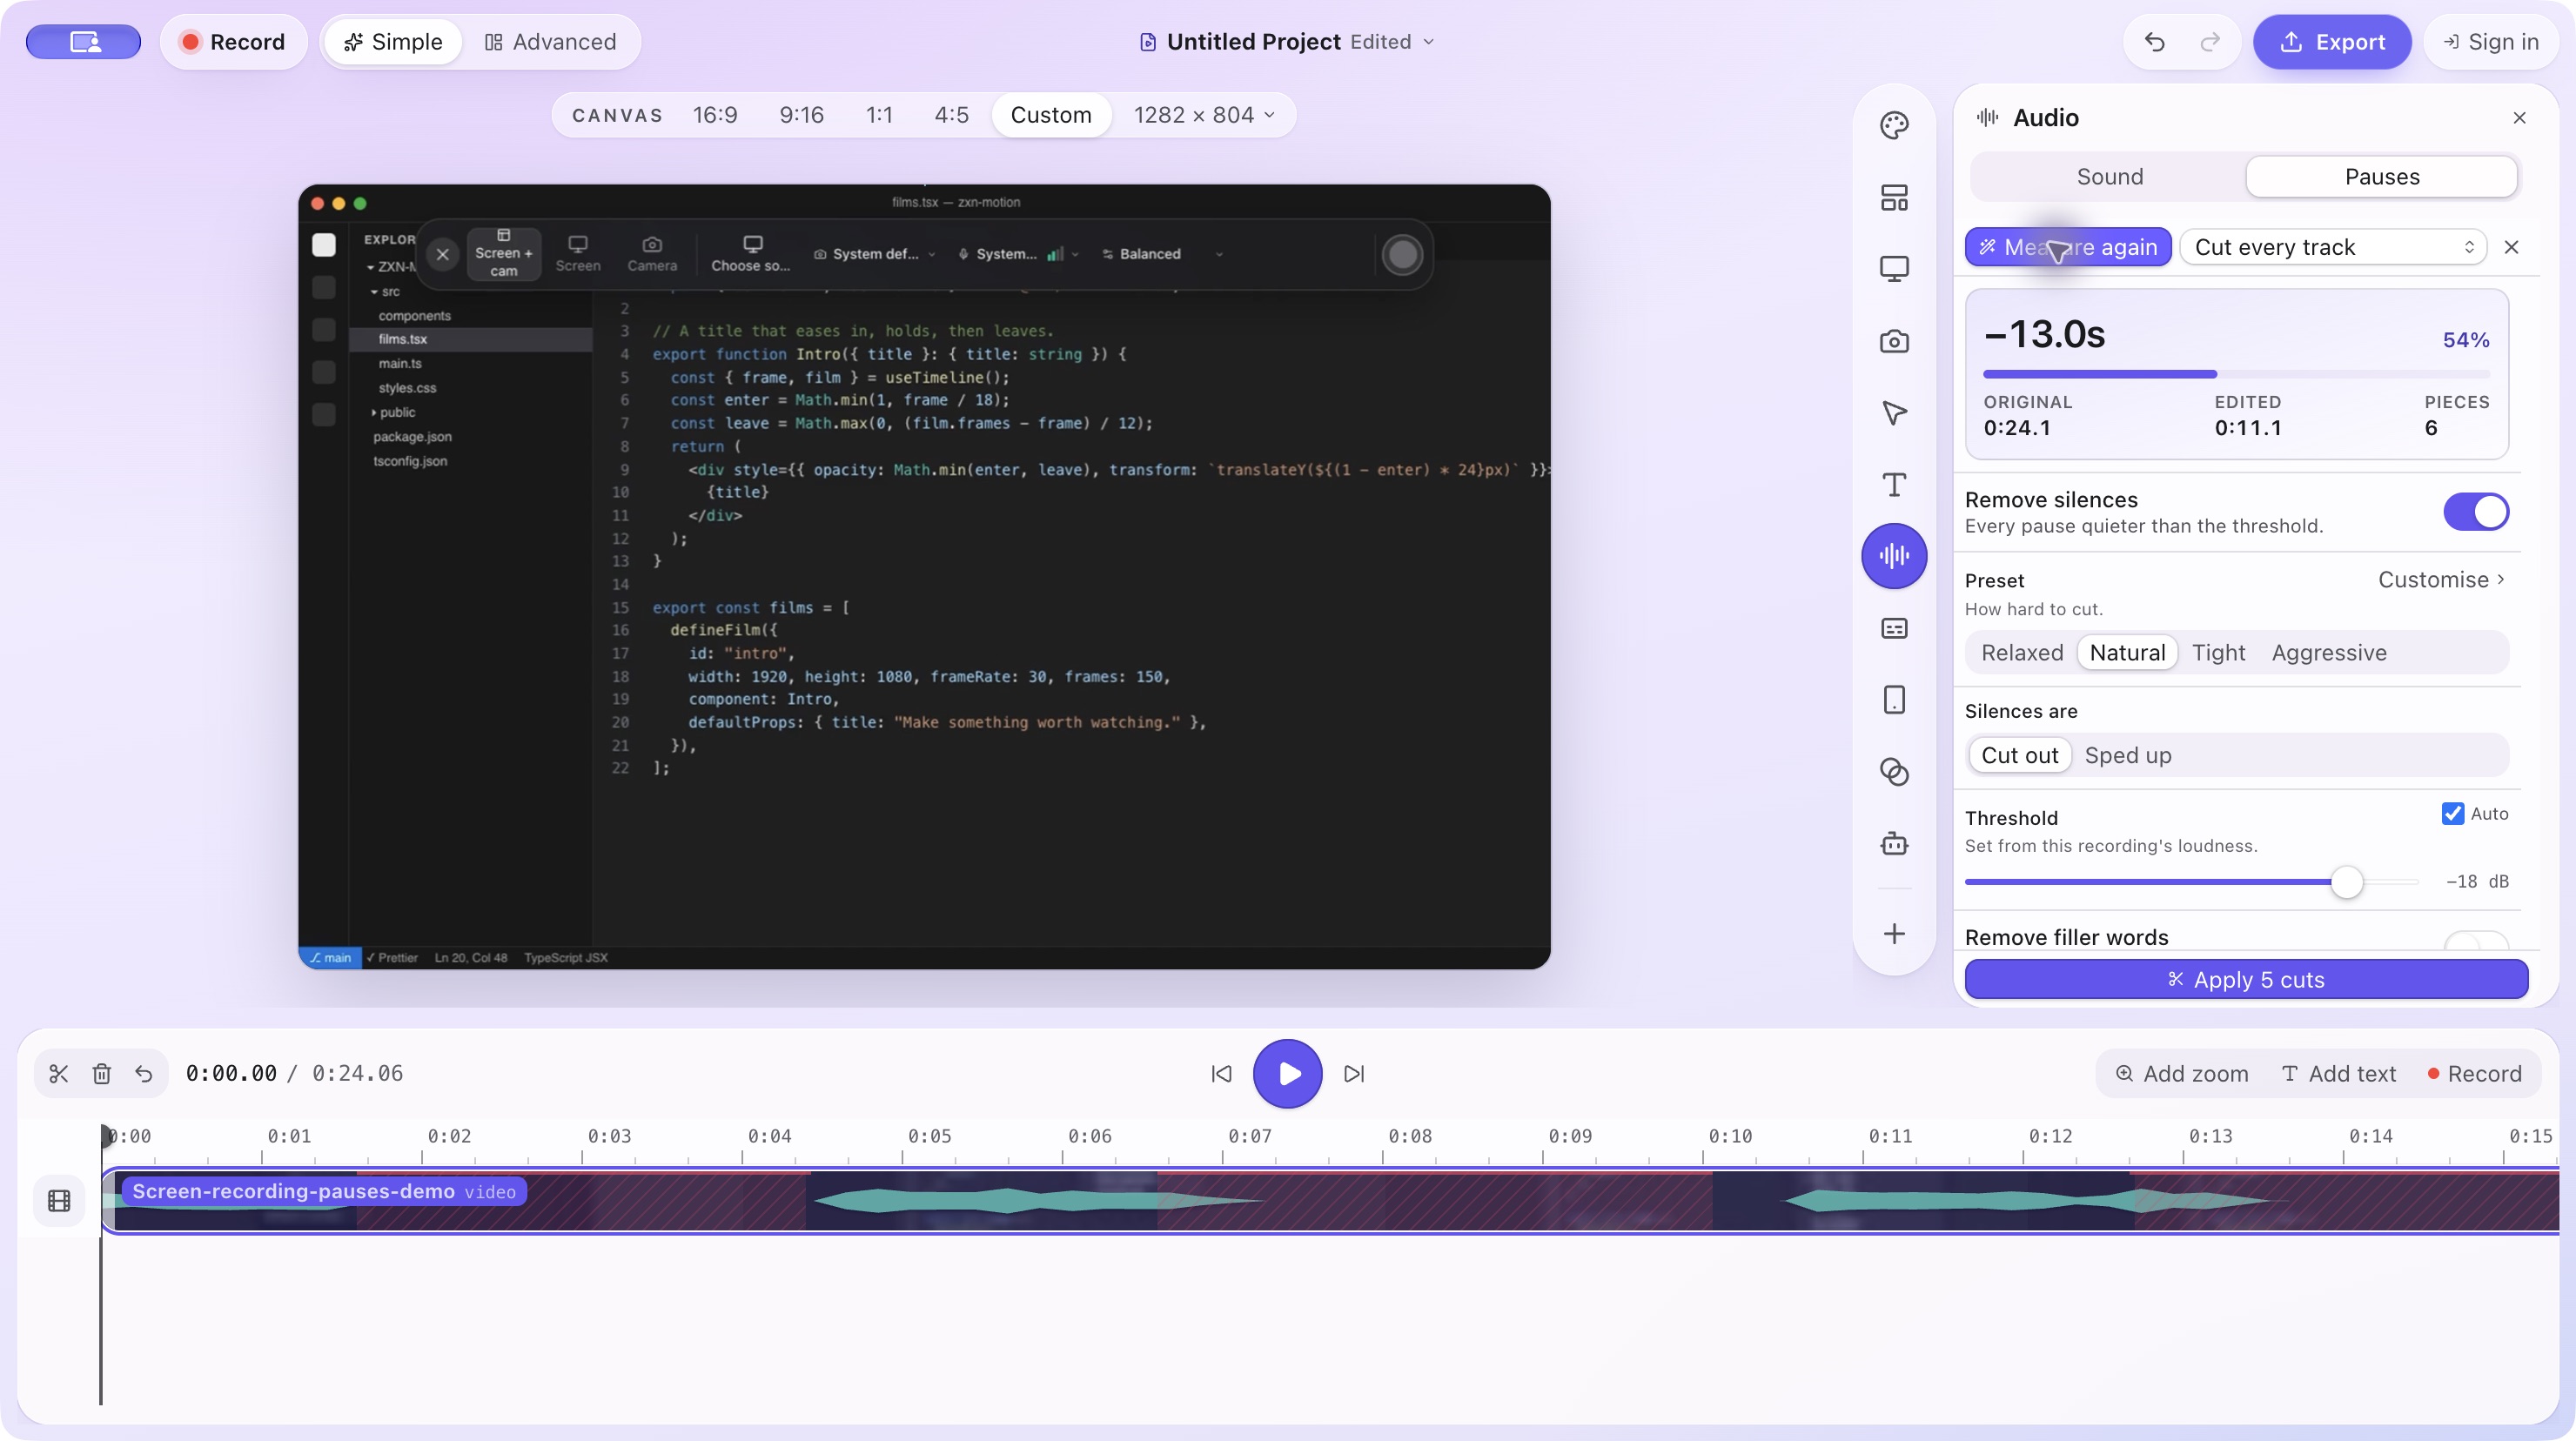
This narrated demonstration contains deliberate gaps. The app reports the proposed time saving before any cut is applied.
The panel shows the original duration, proposed edited duration and detected cuts. Red marked regions also appear on the timeline. Look at where they fall in relation to the screen activity. A large percentage saved can simply mean that the example contained a lot of silence; it is not a quality score.
Use Relaxed if you want more breathing room, or try a tighter preset only after listening to a representative passage. Avoid changing several controls at once. It is much easier to understand an improvement when you know which setting caused it.
3. Adjust minimum silence and padding
Choose Customise to expose the timing controls. Shortest silence sets how long a quiet interval must be before it becomes a candidate. Increase it when you want to leave short conversational pauses alone and concentrate on longer waits.
Padding preserves a little audio around the edges of a cut. The controls distinguish the space after speech stops from the space before it resumes. They can move together while linked, or independently when unlinked. Listen for the ends of words and the first consonants of the next sentence.
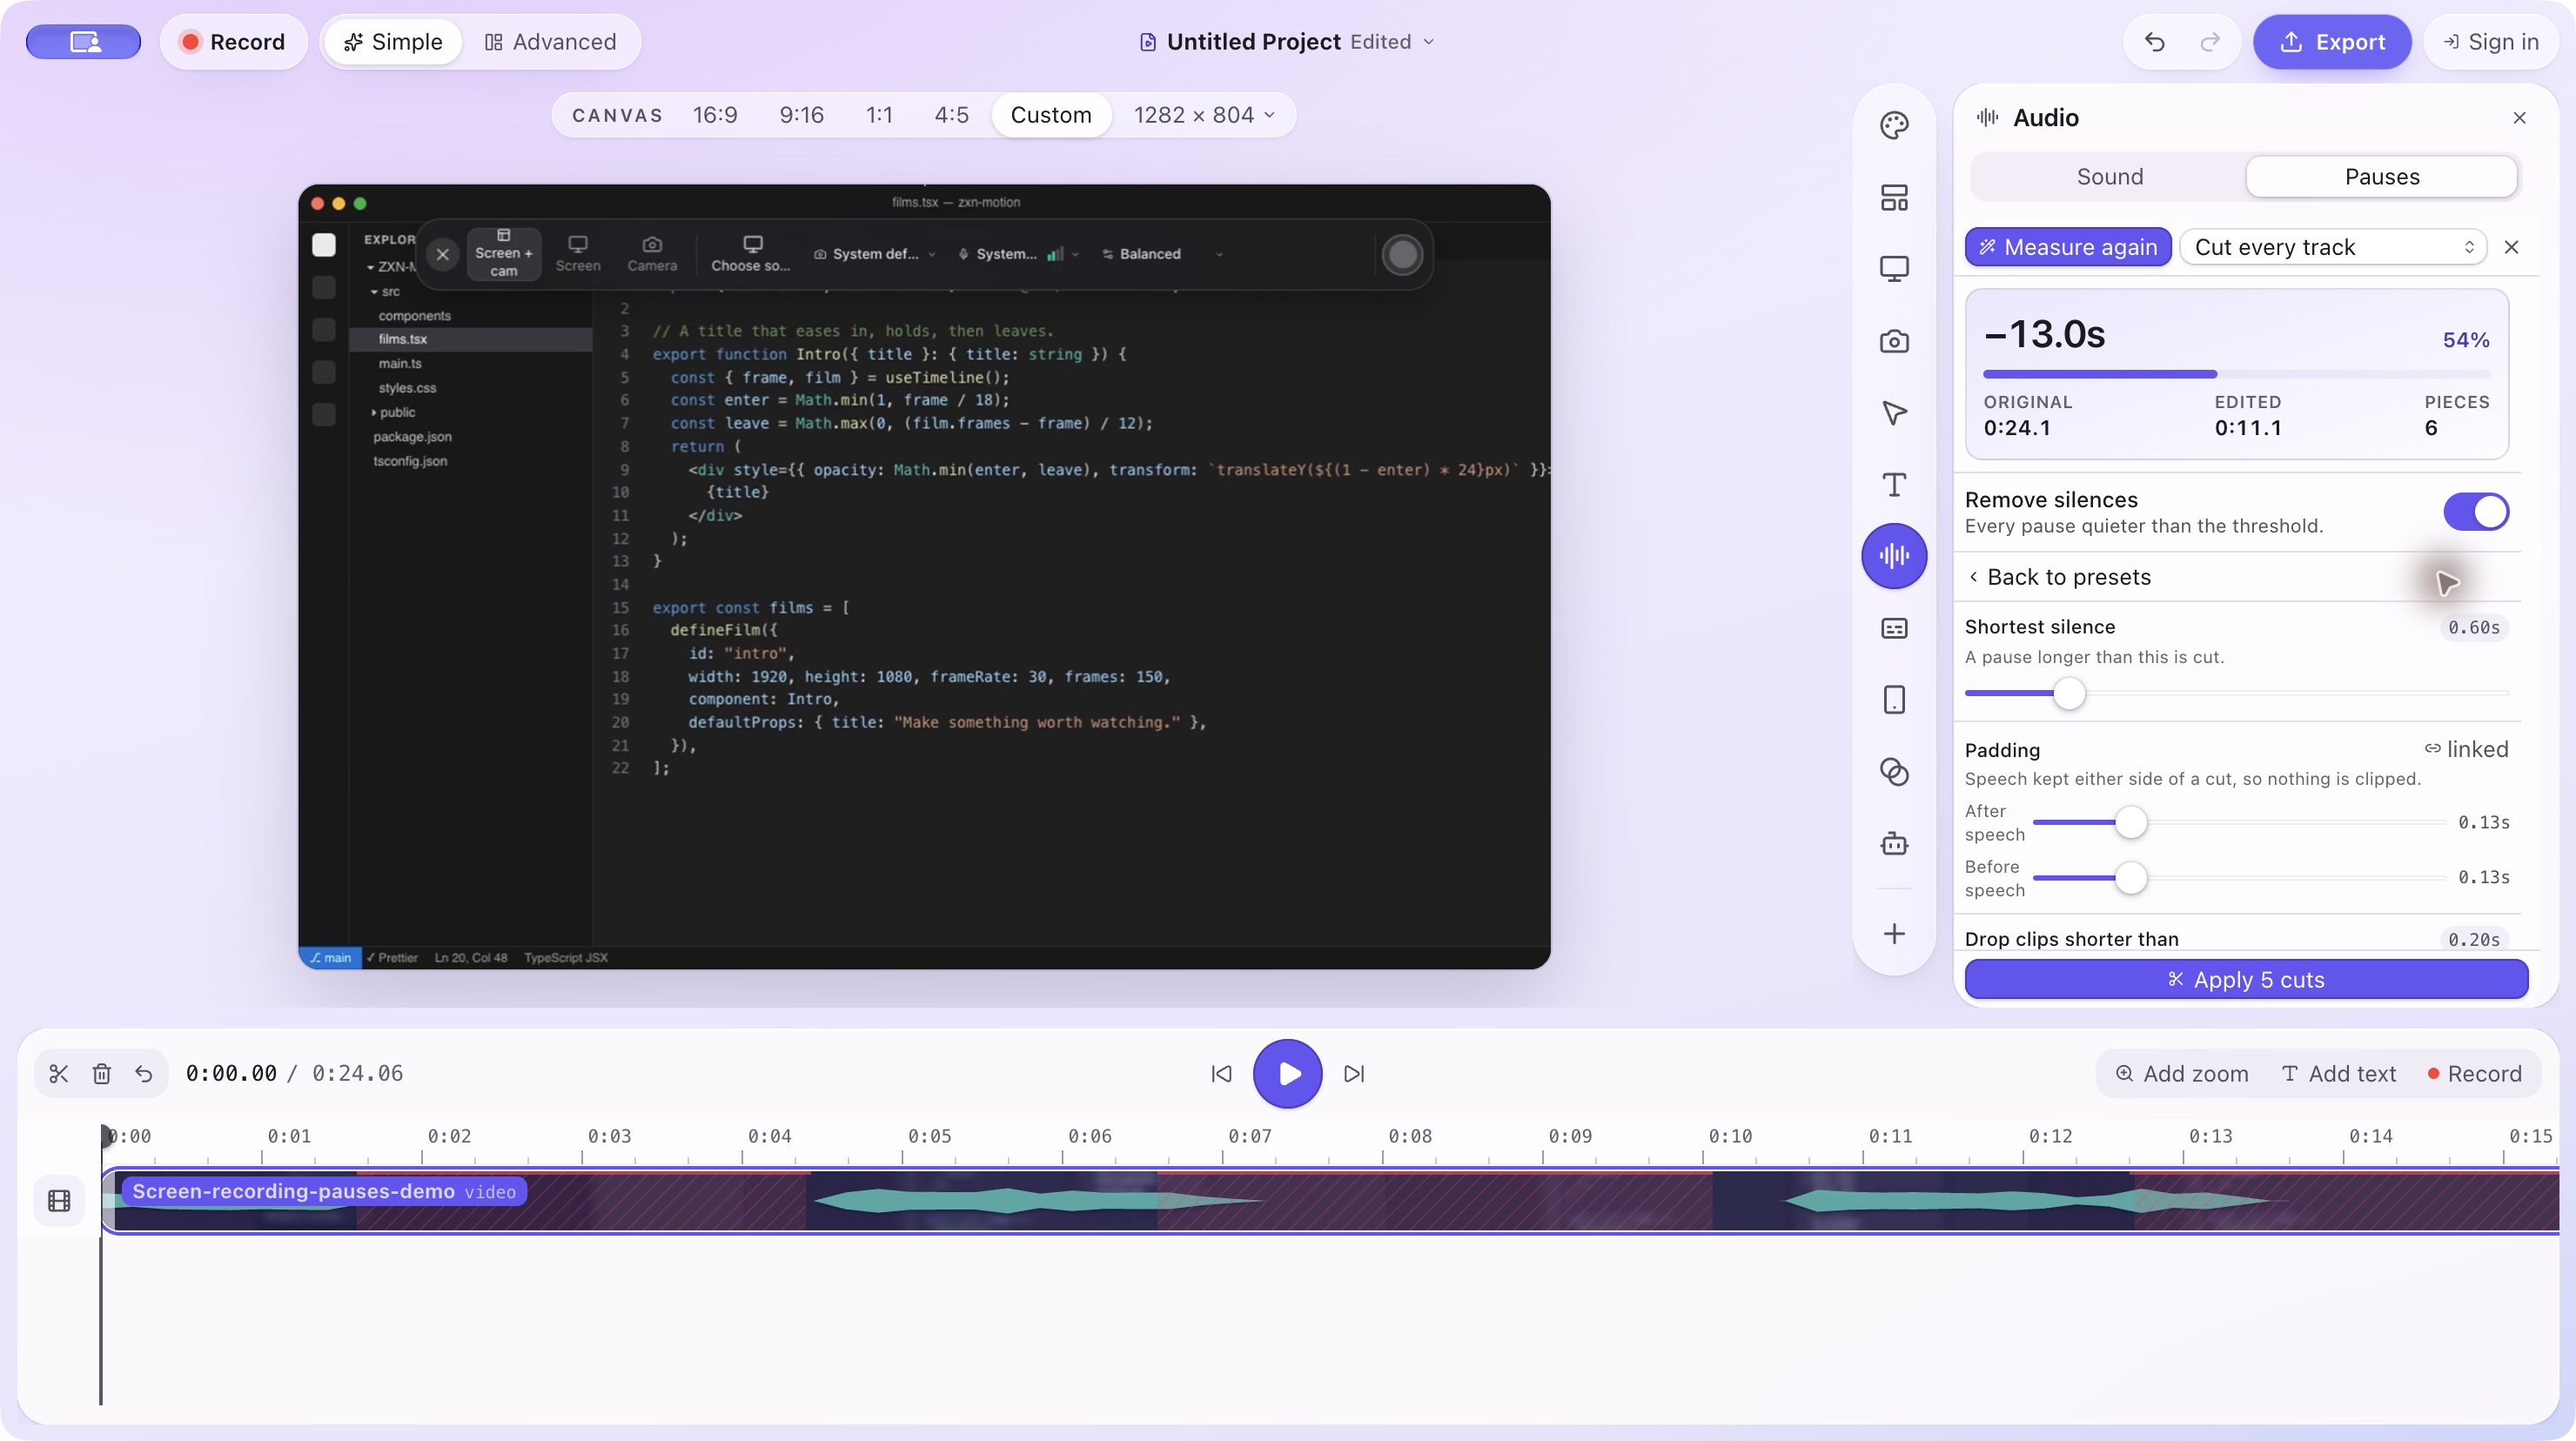
Customise reveals the minimum gap and the speech kept on either side. The displayed values belong to this example, not a universal preset.
If a quiet word is being clipped, make the threshold more sensitive to quiet speech by lowering its dB value, and consider increasing padding. For example, a threshold of -45 dB treats less audio as silence than -30 dB. If room noise prevents gaps from being found, inspect the recording and adjust cautiously in the other direction.
The Drop clips shorter than control can remove short fragments left between cuts. Set it to Off when those fragments contain useful sounds or brief words. An isolated “yes” may be short, but it can still be essential to the explanation.
4. Keep useful pauses and protect synchronization
Review the cut list and click a pause to move to its location. Choose Keep for a gap that contains a useful visual action or deliberate reading time. You can also click a marked pause on the timeline to preserve it. Revisit the surrounding sentence, not just the silent middle.
Check the scope control before applying anything. Cut every track closes the same time ranges across the timeline, which is usually appropriate when narration, screen and camera belong together. Cut this track only is useful for an independent element, but can change its alignment with other tracks.
For example, cutting only a separate voice track while leaving the screen untouched can make the narration describe a click that has not happened yet. A single embedded video-and-audio clip is simpler, but additional camera, title and music layers still deserve a synchronization check.
If an on-screen action should remain visible but does not need its full duration, consider Sped up instead of Cut out. Review the resulting movement carefully. Speeding up a loading sequence can communicate that time passed; speeding through text that must be read does not help.
5. Apply the cuts and review the new rhythm
When the selection looks right, click Apply cuts with the displayed count. The proposed gaps become timeline edits and the remaining material closes together. The entire operation can be undone as one change if the result is too tight.
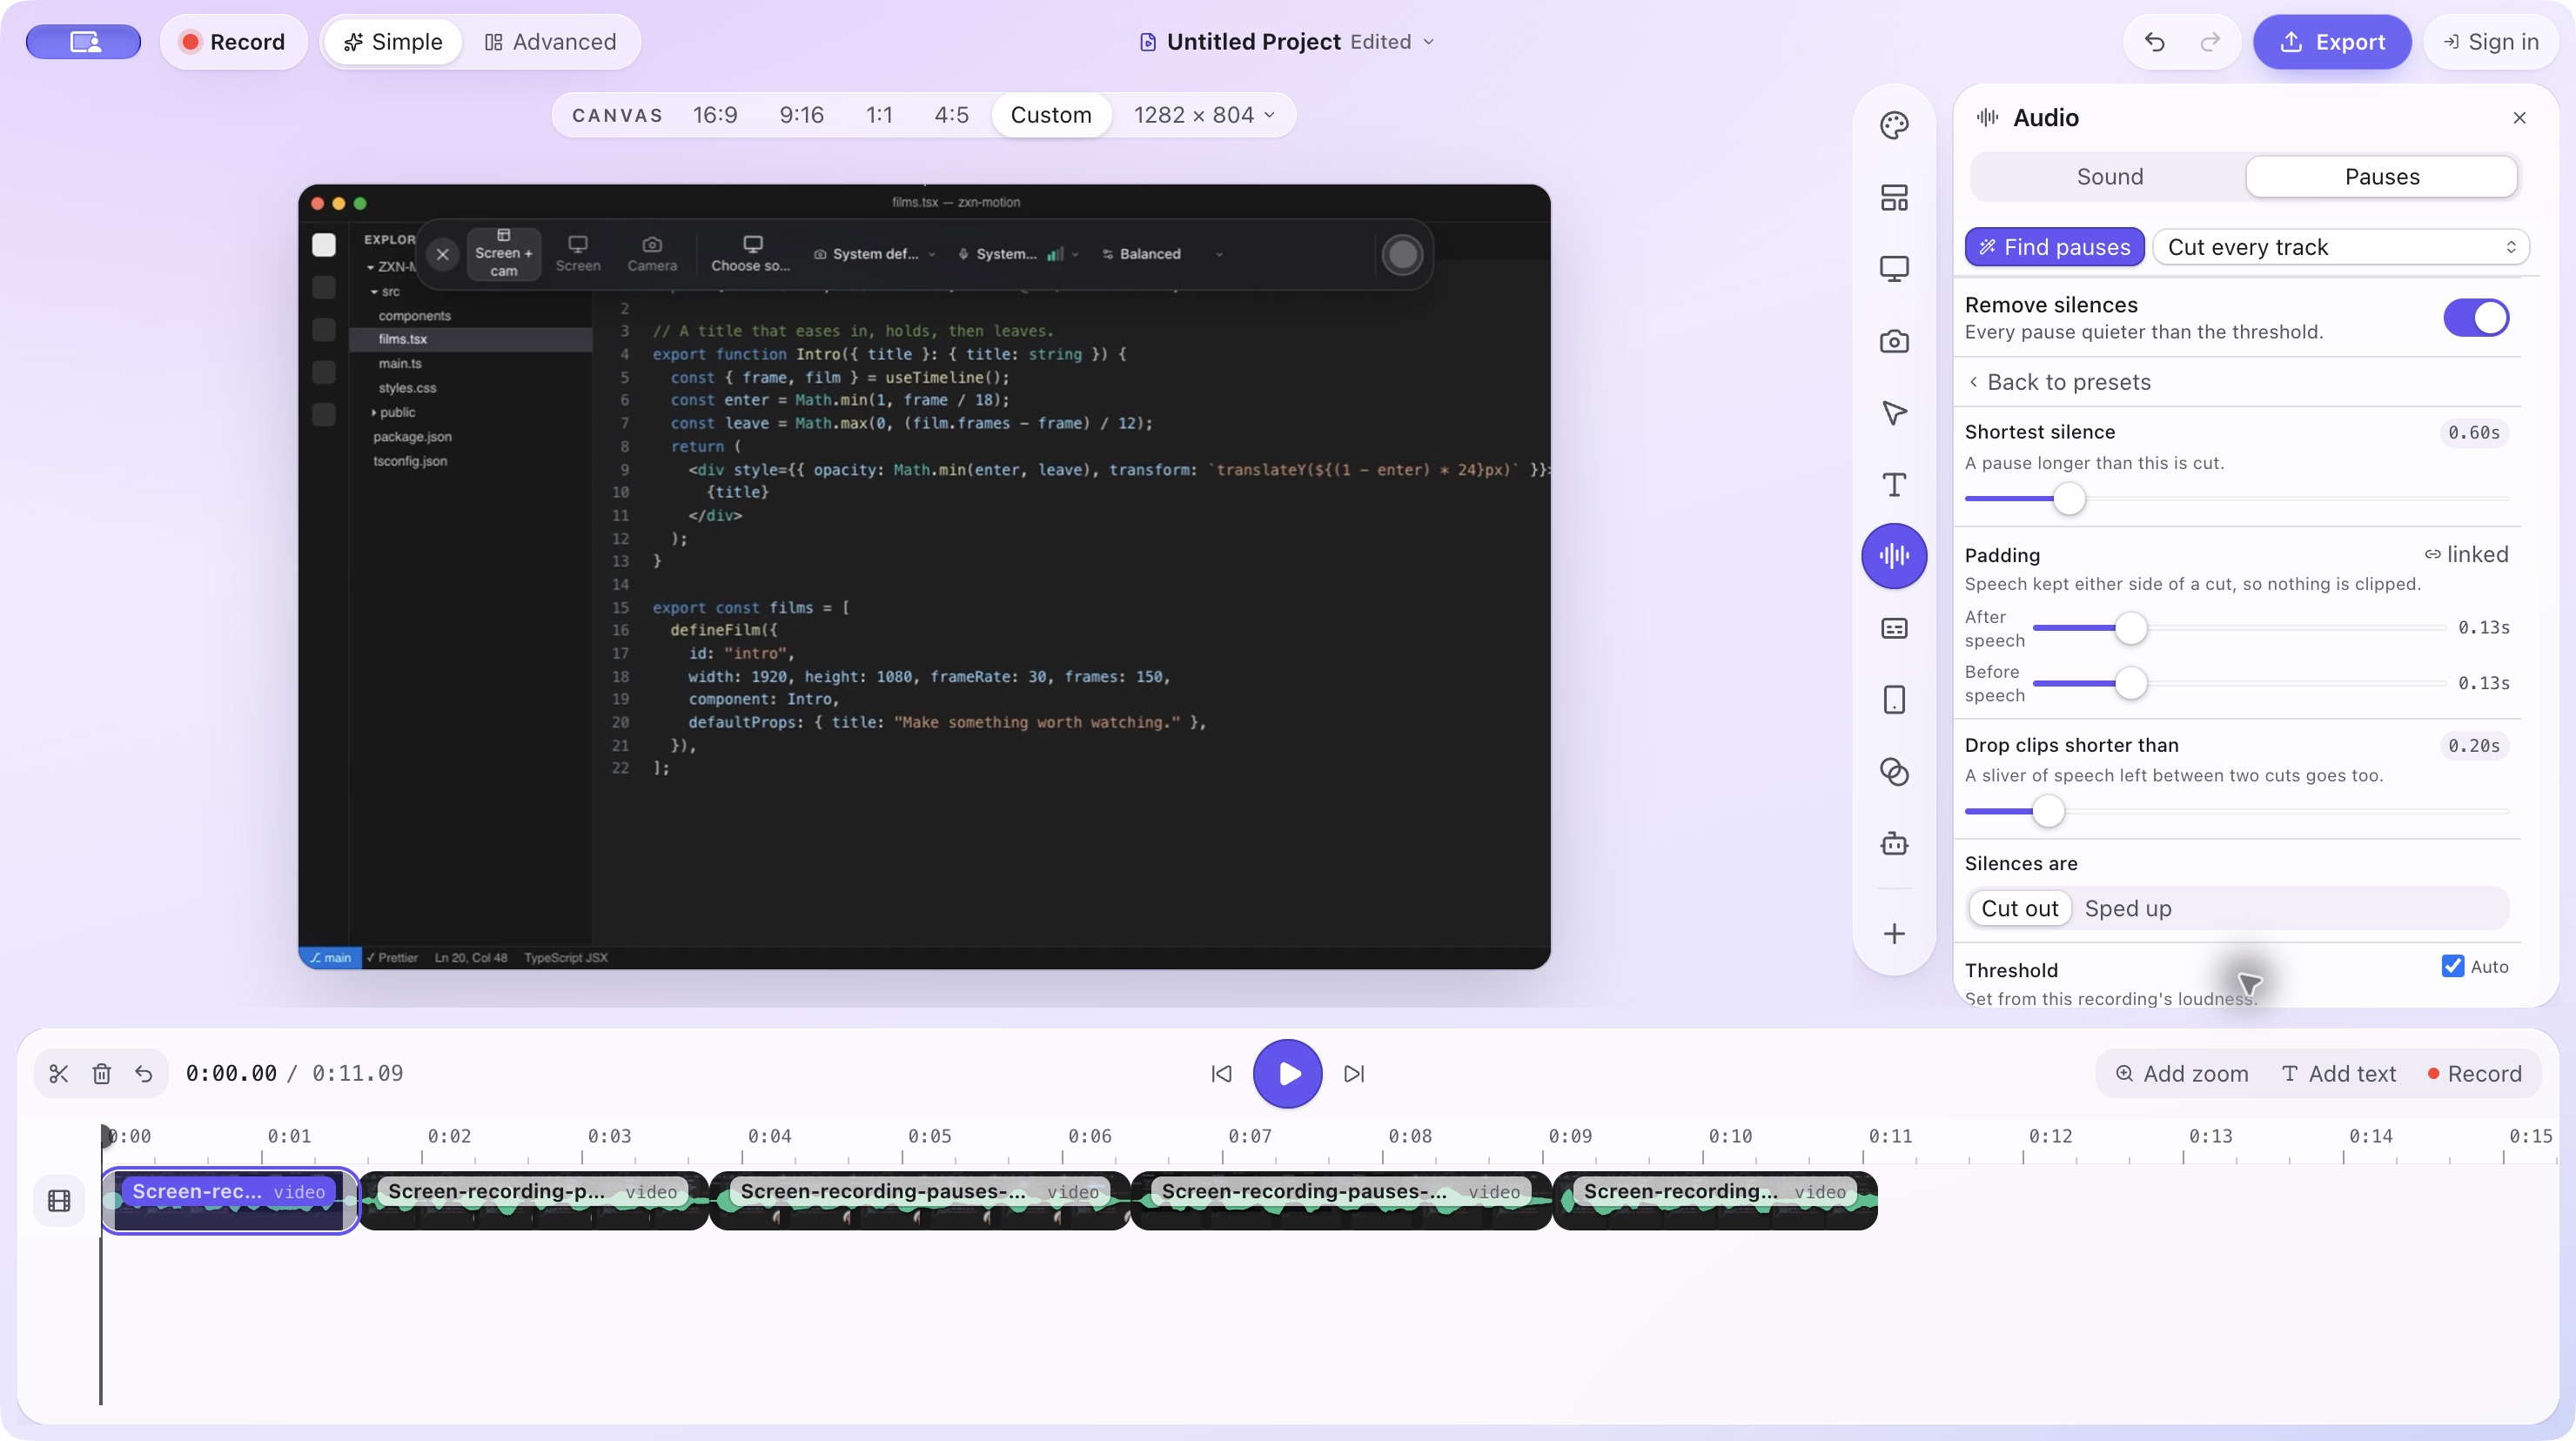
After applying the plan, the remaining speech appears as separate clips. The example’s displayed duration changes from 24.06 to 11.09 seconds.
Play the edited video from start to finish. Listen for chopped syllables, awkward breaths and sudden changes in room tone. Watch whether a cursor movement, dialog or result disappears too quickly. If a cut is wrong, undo the batch, preserve that gap and apply a revised plan.
Filler-word removal is separate. The Remove filler words option needs a transcript with word timing, and audible hesitation is not the same thing as silence. Do the silence pass first so you can judge the pacing before deciding how much spoken material to remove.
An alternative workflow in Recut
Recut can analyze a recording, highlight quiet sections and preview playback with those sections skipped. Adjust its threshold, minimum duration and padding, then override individual cut or keep decisions. Export a new media file or a timeline for another editor. Its official silence-removal guide explains the controls and export choices.
Export the explanation, not just the shortest timeline
Export a sample and watch it without touching the playback controls. The narration should remain natural, screen actions should match the words, and important information should stay visible long enough to understand. Compare the opening and a difficult section with the original before committing to the full edit.
Once timing is settled, add automatic zooms where they help and check the audio levels for YouTube. Silence removal gives you a cleaner starting point. The final decision is whether each cut makes the explanation easier to follow.
Related journal notes
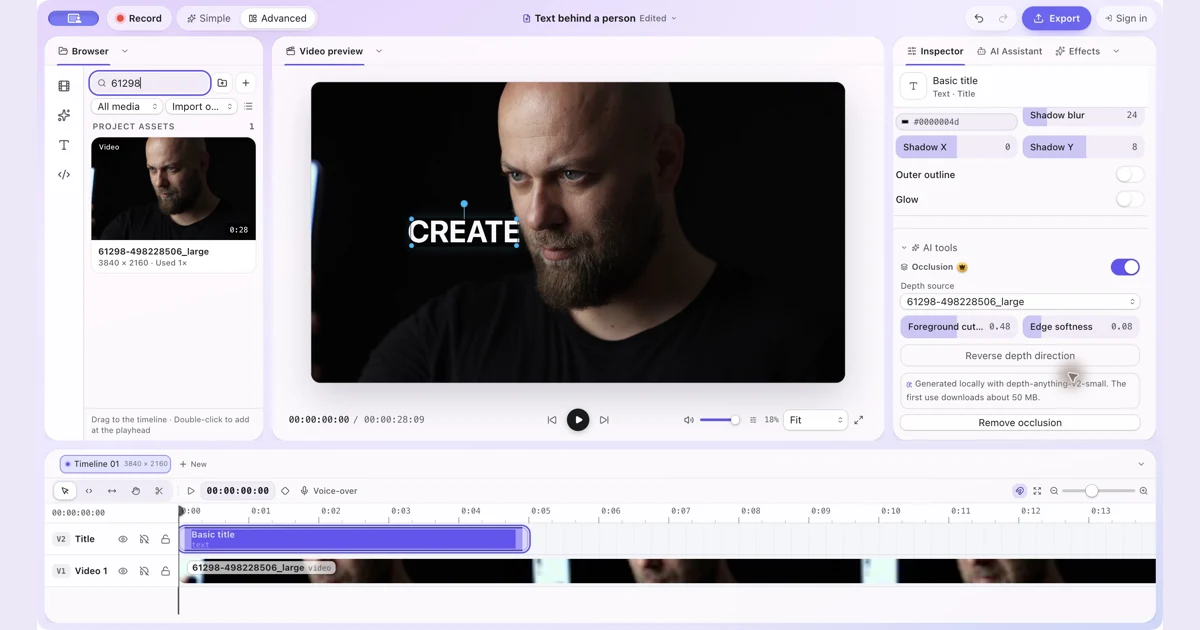 How to Put Text Behind a Person in a Video on MacPut text and other visual items behind a person with manual occlusion in ZXN Studio. Follow the layer setup and refine the depth boundary.
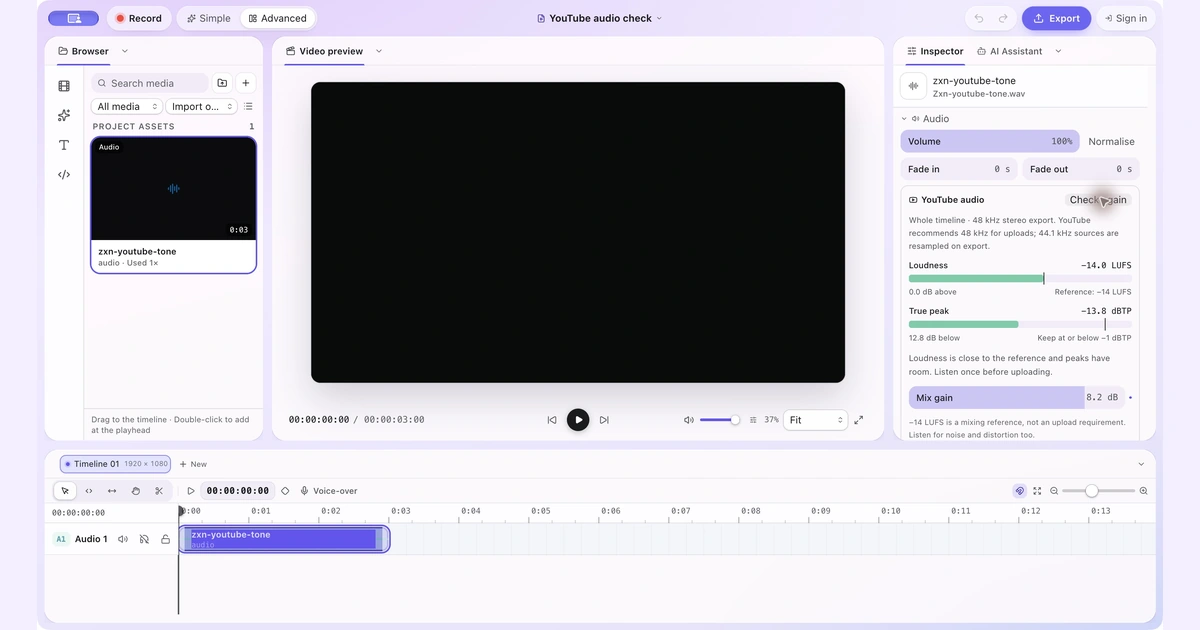 YouTube Audio Settings on Mac: Check LUFS, True Peak and VolumeCheck your full video mix, understand the -14 LUFS reference and raise quiet audio only when the peaks have room.
 The ZXN Studio referral programme: earn 30% recommending a screen recorder you already useZXN Studio now pays creators 30% of every lifetime purchase and 20% of monthly payments for a year. Here is how the programme works, who it suits and what it pays.