
Make your presenter stand out with camera Pop out
Let your presenter extend beyond a camera frame in ZXN Studio. Learn how Pop out, subject cutouts, headroom and shadow work together.
In this article
A camera overlay helps a screen recording feel personal, but the usual rectangle can make the presenter look like a separate item placed on top of the demonstration. ZXN Studio's Pop out treatment changes that relationship: your head can extend beyond a supported camera frame, giving the composition a sense of depth.
The effect works by combining the camera frame with a cutout of the presenter. You can adjust headroom and subject shadow to shape the result. It is a Studio feature designed for moments when your presence contributes to the explanation, from a product introduction to an onboarding welcome or the closing lines of a tutorial.
What the camera pop-out effect does
A conventional frame clips the camera picture at its boundary. Pop out allows the presenter to break that upper boundary while the rest of the composition still reads as a framed camera image. The effect can make a small presenter window feel less enclosed without requiring it to occupy much more of the canvas.
It is especially useful when the screen needs most of the available space. Your face remains visually distinct, but the surrounding demonstration can stay the main subject. The right amount of emphasis depends on the video: a launch introduction may suit a stronger treatment than a quiet technical walkthrough.
Think about the relationship between the presenter and the interface. The effect should help the viewer recognize who is speaking while preserving the space needed to understand the task.
Choose a supported camera frame
Select the camera clip and open its camera frame controls. In the Simple layout, the Camera card brings together frame styling and background removal. Choose the frame treatment you want, then enable Pop out.
Circle frames do not currently support Pop out. If the control is unavailable on a circular frame, select a supported non-circular frame before continuing. This is a frame limitation rather than a problem with the camera recording.
Start with a frame whose position leaves some room above the presenter. If the camera is already flush against the top of the canvas, extending the subject beyond the frame can leave too little space. Move or resize the frame to create a useful composition before increasing the effect.
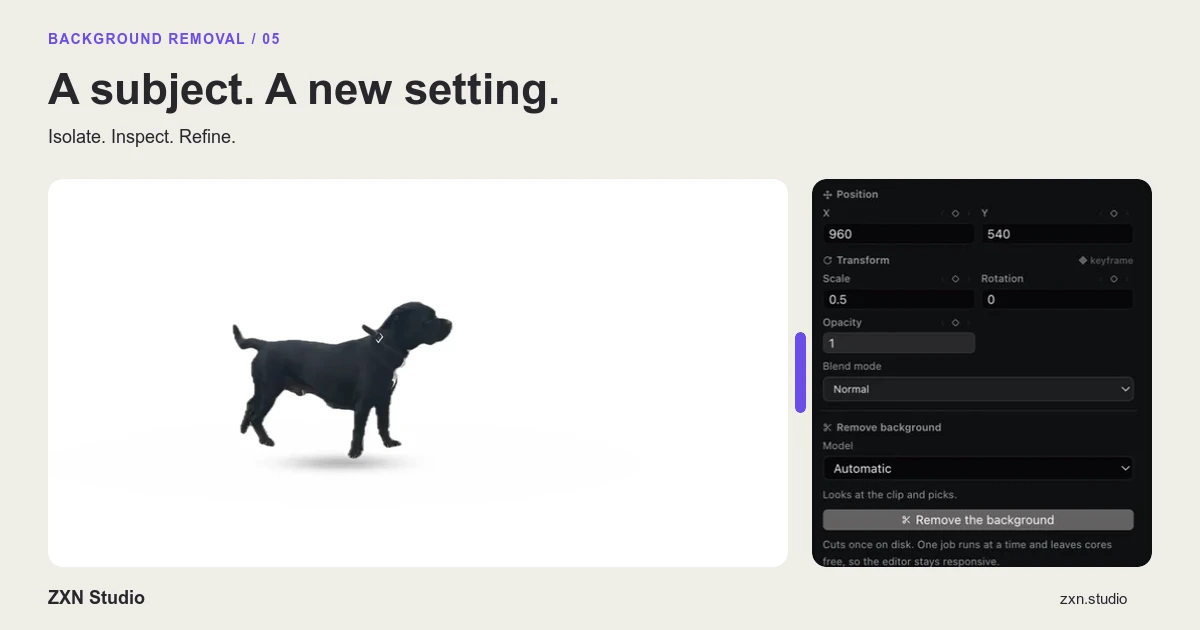
Let ZXN Studio prepare the presenter cutout
Pop out needs to distinguish the presenter from the background. ZXN Studio can use an existing cutout or enabled background removal. When a cutout is needed, the camera controls provide the preparation step alongside the effect.
Wait for that processing to finish before judging the final edge. The frame needs to know which parts of the picture belong to the person. Changing the frame repeatedly while the subject is still being prepared makes it harder to assess the result.
The source recording matters. Give your face and hair clear lighting, avoid unnecessary clutter directly behind your outline and leave room for normal head movement. If you gesture while speaking, include those gestures in a short test. A pose that looks good while motionless may be less convincing when you lean forward or raise a hand.
Adjust headroom before shadow
Headroom controls how the presenter breaks out of the frame. Increase it gradually while watching the preview, then play a passage with natural movement. Choose a value that creates the intended separation without making the composition feel top-heavy.
The control supports keyframing when you need the treatment to change over time. For a first video, a consistent setting is often easier to manage. Establish a good static composition before adding motion to the camera treatment itself.
Next, adjust Subject shadow. A restrained shadow can help the cutout separate from the background and frame. Stronger shadows are a stylistic choice, but they should fit the rest of the scene. A light, understated screen demo generally benefits from a different treatment than a dramatic product teaser.
Make those decisions at the intended viewing size. A shadow that seems subtle in a large preview can become a dark border when the video appears in a small embedded player.
Keep the demonstration readable
The camera is still an overlay, so inspect what is behind it. A presenter near the lower corner can cover a menu, a confirmation message or a control you click later. Watch the full sequence rather than approving the layout from the opening frame.
For a tutorial, place the camera where it least interferes with the action. If the important content moves, consider changing the camera's placement for that section or reducing its visual emphasis. The viewer should never have to infer what happened behind the presenter.
A useful composition test is to pause at the three most important moments: the starting state, the action and the result. In each frame, the person and the interface should have clear roles. Pop out adds character; the demonstration still needs to explain the task.
Where Pop out works especially well
Try it in a short introduction where you greet the viewer before moving into a screen demonstration. It can also work in a sales explanation when the presenter remains visible while a product example occupies the main canvas.
For longer lessons, consistency matters. Repeating a restrained camera treatment across sections can make the series feel coherent. You do not need to vary headroom and shadow in every clip to make the feature worthwhile.
Pair it carefully with screen movement. If the demonstration is already using automatic zoom or floating perspective, watch the combined result. Several individually attractive effects can compete for attention when they occur together.
Export a short sample before the full video
Pop out is a Studio feature. Confirm that the project can export with the treatments you have chosen, then render a short representative section. Include a head movement and any hand gesture that approaches the frame boundary.
Inspect the exported video outside the editor. Look at the outline, the space above the presenter and the shadow at normal playback speed. If all three support the composition, apply the same approach to the rest of the video.
See background removal for more on preparing the subject cutout. A successful pop-out effect gives the presenter more presence while leaving the viewer free to follow the explanation.
Related journal notes
 12 Loom alternatives for screen recording, editing and sharingCompare 12 Loom alternatives for quick updates and polished demos, with clear editing, hosting and pricing tradeoffs, including ZXN Studio.
 Share screen recordings with a link in ZXN StudioTurn a finished recording into a hosted viewing link, manage visibility and keep revisions together with 100 GB of storage on Studio monthly.
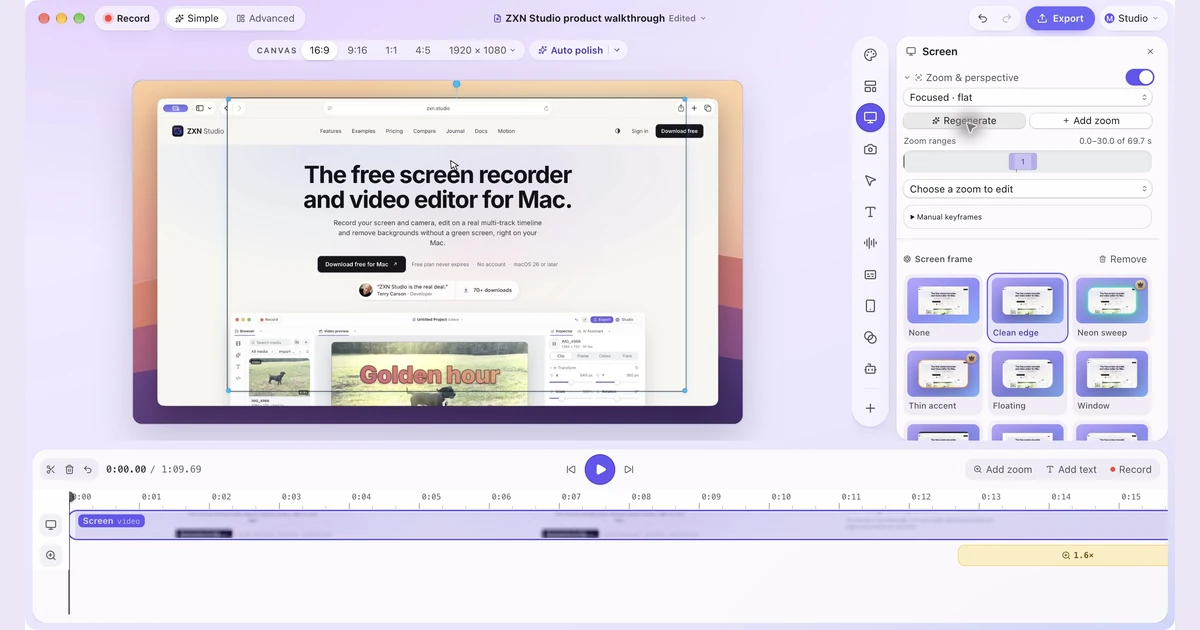 One project, two layouts: Simple and Advanced in ZXN StudioKeep the preview front and center in Simple, or open the full editing workspace in Advanced. Switch layouts while continuing the same project.