
Add perspective to screen recordings without losing the detail
Use Floating perspective in ZXN Studio to give a screen recording depth, then refine the intensity and zoom framing for readable product demos.
In this article
A flat screen recording is often exactly what a tutorial needs. For a product introduction or feature demonstration, however, you may want the interface to feel like part of a composed scene. ZXN Studio's Floating · perspective style gives the recording an angled presentation with subtle movement, while keeping the screen content editable within the project.
Perspective changes how the recording sits in the frame. Combined with a background and well-chosen focus ranges, it can give a demonstration a sense of depth. The aim is to support the product you are showing: the important text and controls still need to be easy to follow.
What Floating perspective adds
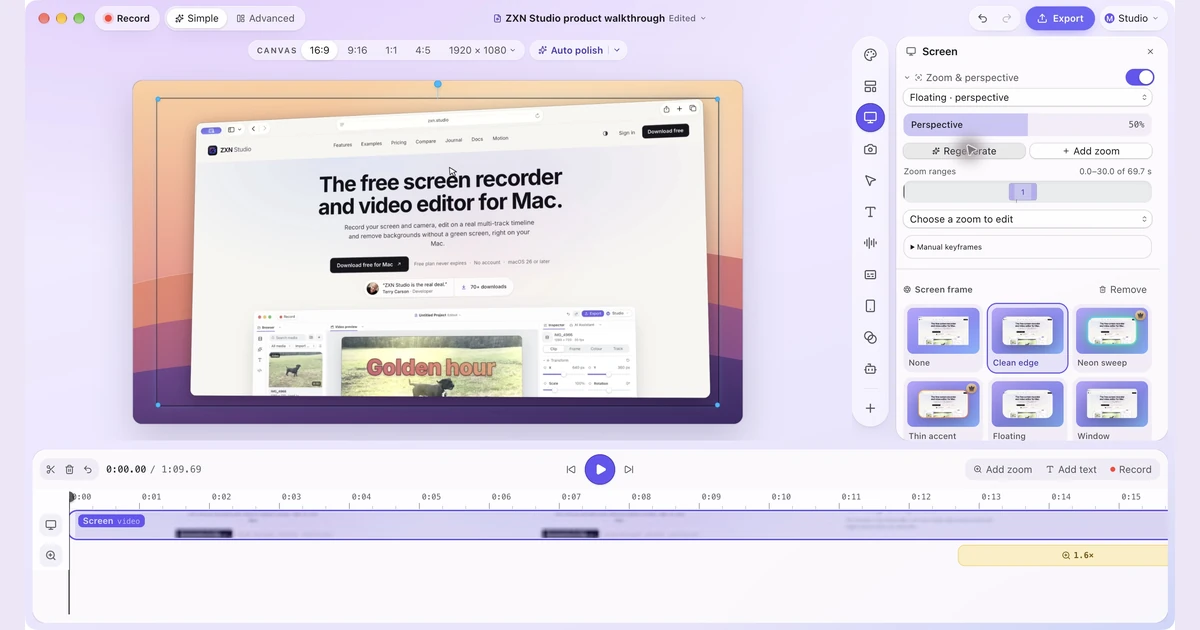
Floating perspective presents the screen with horizontal and vertical angles, giving it the appearance of a surface in space. In the wider view, gentle movement keeps that surface from feeling completely static. The Perspective control adjusts the strength of the treatment.
The effect also responds to focus ranges. As a zoom moves closer to an area, the automatic presentation reduces much of the angle so the detail becomes easier to read. That relationship is useful for a product demo: the overview can establish a visual style, while the close view can explain an action.
Perspective is different from ordinary enlargement. A zoom brings a region closer; perspective changes the apparent angle of the screen. You can use both together, but it helps to make those decisions separately.
Begin with a readable composition
Before enabling the style, arrange the screen at a sensible size within the canvas. Leave enough background around it to make the angled edge visible. A screen pushed tightly against the canvas boundary has less room for a perspective treatment to read clearly.
Use a representative frame from the demonstration, not an empty starting screen. If the video contains dense settings, a table or a sidebar with small labels, include those details in your composition test. The most attractive opening pose is not useful if the main action becomes difficult to read.
Decide where any presenter overlay belongs. The camera and screen should have distinct areas of responsibility, especially if the presenter uses Pop out. Check that a visually prominent camera treatment does not compete with the part of the interface you are explaining.
Enable Floating in Zoom & perspective
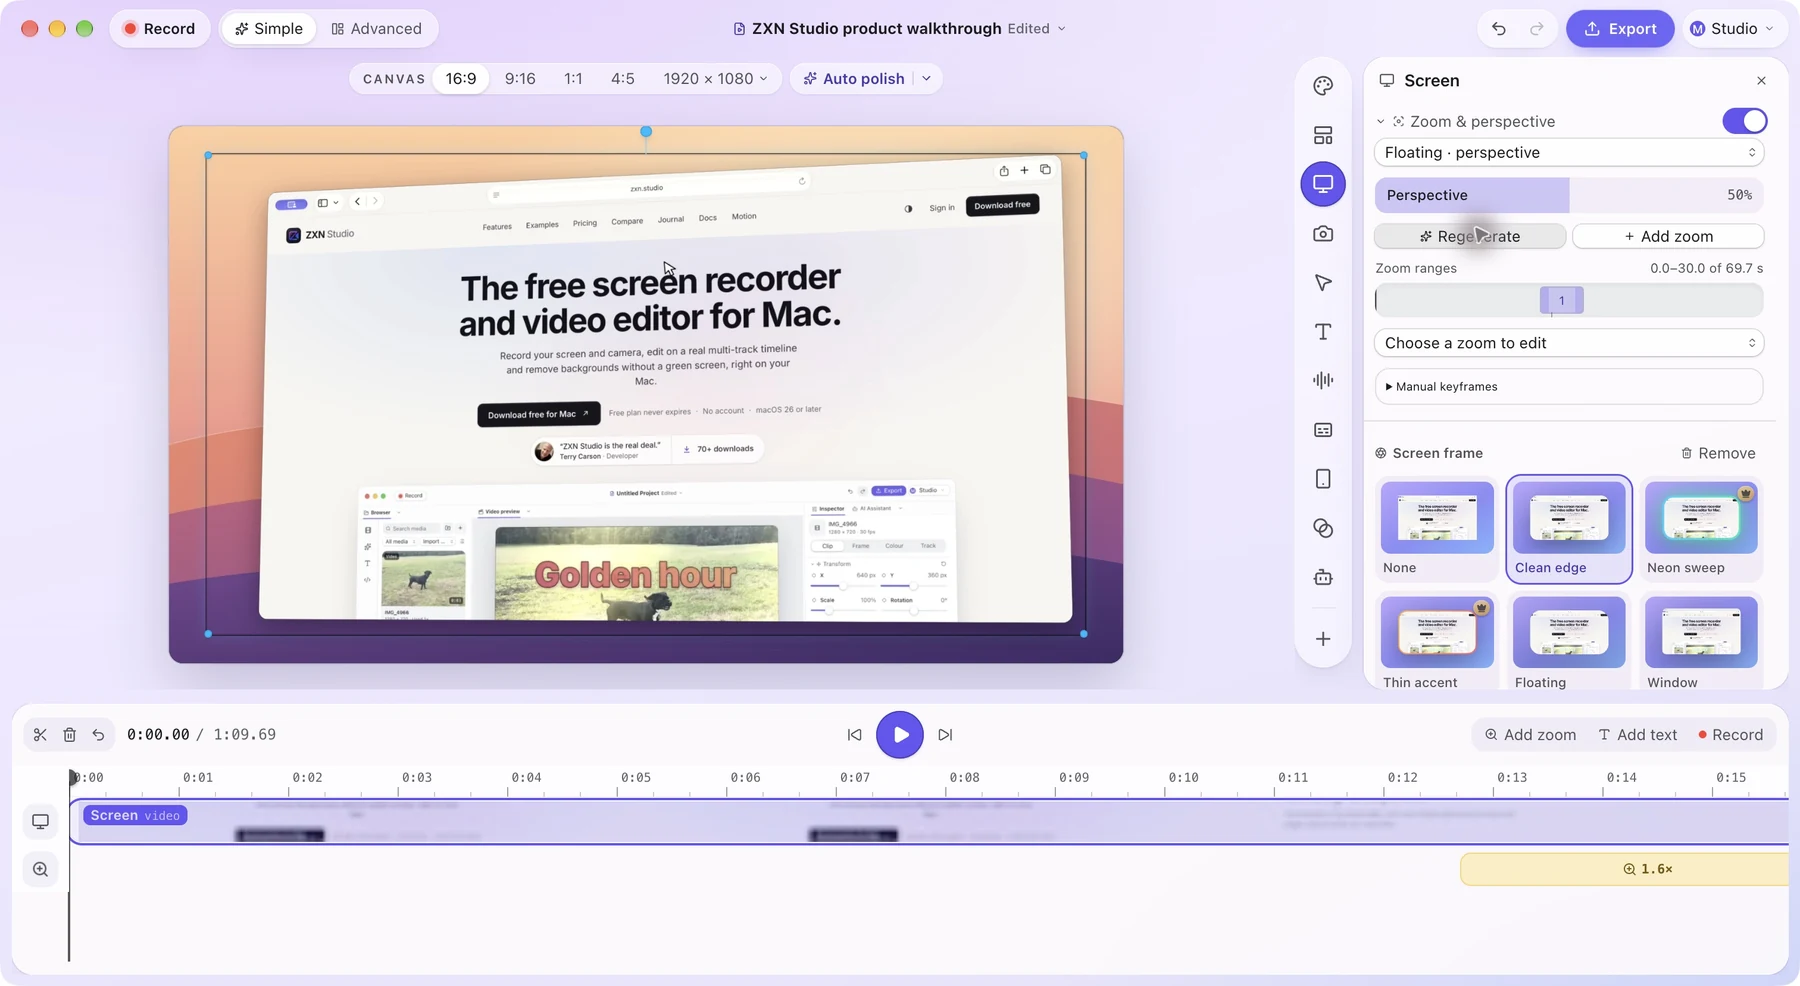
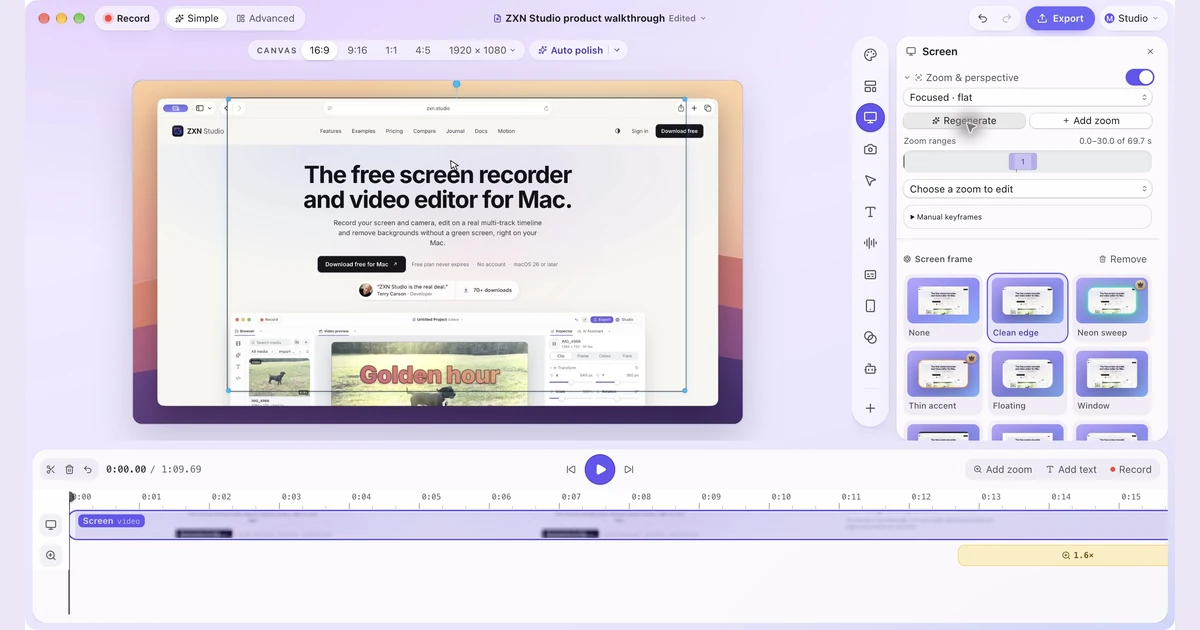
Select the screen clip and open Zoom & perspective. In Simple, these controls are in the Screen card. Enable the treatment, then choose Floating · perspective from the presentation-style menu.
Adjust Perspective while watching the preview. Begin with a restrained amount and compare it with the flat view. The useful setting is the one that adds a clear visual treatment while preserving the shape and readability of the interface.
Play several seconds rather than evaluating only a paused frame. Floating includes gentle movement in the overview, so you need to judge its relationship with the action and narration. A composition that looks balanced at one instant may feel too active during a detailed explanation.
Add focus where the viewer needs a closer look
For a new ZXN screen recording with complete click metadata, Auto zoom can create focus ranges from the recorded actions. You can also use Add zoom to choose a moment manually. The automatic zoom guide explains the difference and the editing controls.
Set the range to include the complete action: the control being used, the click and the result. Adjust its focus point before increasing the zoom. A well-placed moderate close view often communicates more than an aggressive crop of the button alone.
Watch how the perspective changes during the move. The automatic style brings the view toward a flatter presentation as it closes in. This can help separate the expressive overview from the practical detail, but your framing still determines whether the relevant content remains visible.
Know when the flat style is clearer
Perspective works particularly well when the appearance of the product is part of the message. A landing-page clip, launch announcement or brief feature introduction can benefit from a composed, dimensional view.
For a dense walkthrough, the flat style may communicate more directly. A viewer trying to read a command, compare values in a table or follow a precise settings sequence benefits from stable geometry. You can still use zooms while selecting Focused · flat.
Make the decision based on the viewer's task. If they are getting an impression of the product, the broader presentation matters. If they are copying exact steps, readability and continuity matter most. You can use different treatments for different sections of a larger project.
Use manual controls for a specific camera move
The Manual keyframes section provides controls for recording zoom, focus and perspective. Perspective yaw changes the horizontal angle; Perspective pitch changes the vertical angle. These controls let you author a deliberate move when the automatic floating behavior is not the movement you want.
An animated control replaces its automatic movement for that channel. This matters when diagnosing a result: if yaw has been manually authored, changing the preset's intensity may not produce the yaw movement you expect. Keep manual overrides purposeful and use Reset manual keyframes when you want to return those authored channels to the automatic treatment.
Start with a simple move that has a clear beginning and end. There is little value in building a complicated animation before the screen's size, position and focus have been settled.
Check compatibility and the final export
Zoom and perspective cannot be combined with certain tracking and depth-occlusion uses of the same clip. Those workflows depend on the source surface's coordinates, so the editor explains when the treatment is unavailable. Plan separate shots when the production needs different spatial approaches.
Export a short section containing the wide view, a close focus and a return. Watch it at normal speed in the size of the intended player. Check small labels, the screen edges and the relationship with the presenter.
A successful perspective treatment gives the demo visual character while preserving the explanation. Once the sample works, finish the sequence and share the video. Use the movement to make the product easier to understand and more pleasant to watch.
Related journal notes
 12 Loom alternatives for screen recording, editing and sharingCompare 12 Loom alternatives for quick updates and polished demos, with clear editing, hosting and pricing tradeoffs, including ZXN Studio.
 Share screen recordings with a link in ZXN StudioTurn a finished recording into a hosted viewing link, manage visibility and keep revisions together with 100 GB of storage on Studio monthly.
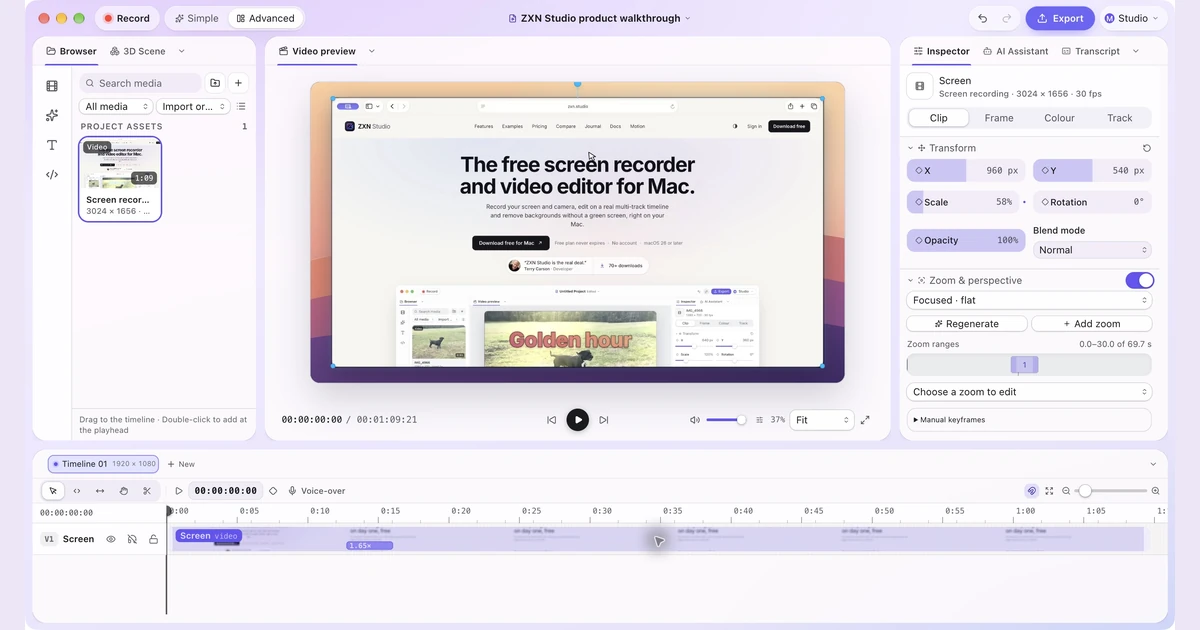
 One project, two layouts: Simple and Advanced in ZXN StudioKeep the preview front and center in Simple, or open the full editing workspace in Advanced. Switch layouts while continuing the same project.